Body
To mark the top profile of the body, put the two pieces of the block together and align the template, "B", to the bottom and back of the block. I marked both sides, checking to make them square to each other so I could check that the cut is square.
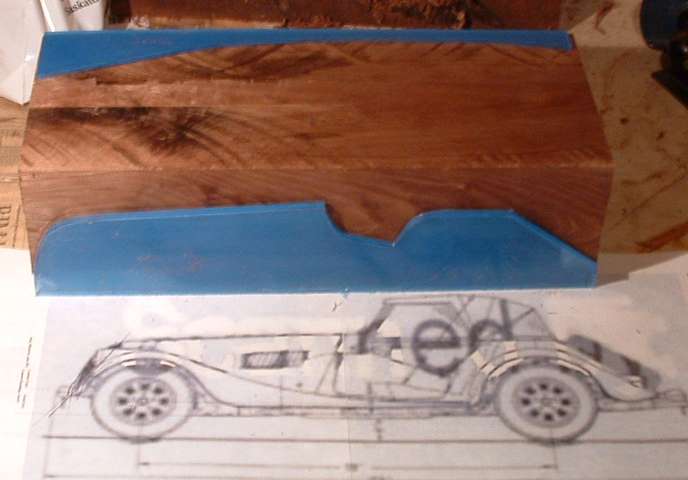
Mark the body side cuts on the top face of the block with template "C" aligning its long side with the side of the block and setting its tail end 3/16" from the back end of the block.
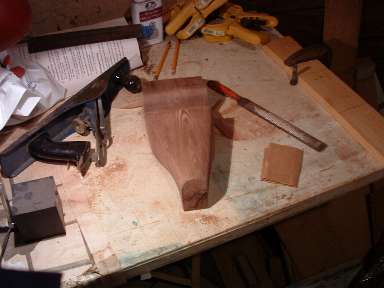
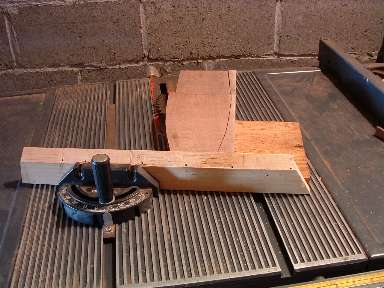
To keep the work piece square while cutting the sides, tape the upper piece onto the chassis piece, offset the pieces far enough so the side can be cut without the band saw blade touching the chassis. Then double check the offset from underneath, I had to glue back on a corner of a front wing after my first side cut. Keep all the cutoffs from cutting out the body, they will be useful later.
Cut off the body side on the band saw. Repeat for the other side.
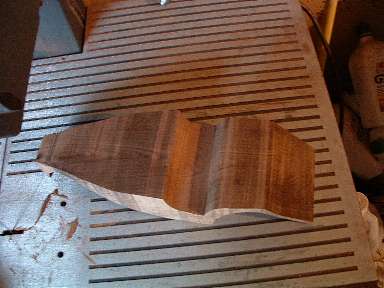
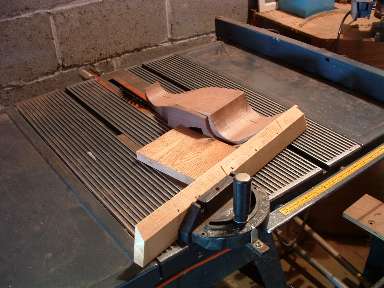
To cut the top profile of the body, remove the chassis piece and tape the side cutoffs to the body, leaving the profile cut lines visible. On the band saw make a cut down from the top to the corner between the boot opening and the sloped rear deck, then make a cut from the top to the dashboard and follow the cockpit line down across the dashboard and the top of the doors. These cuts will allow you to cut off pieces from the profile without any tight cornering with the band saw. I hope you can see these cuts in the fuzzy picture.
For the bonnet start at the front above the headlights so the side cutoffs can be used to make the headlights.
Take the side cutoffs and cut off the front 5" long. These will be used for making the wing tops and the headlights.
Cut a 1" slice from the outer side of these front side cutoffs on the band saw, the 1" slice will become the wing tops and the rest will become the headlight nacelles.
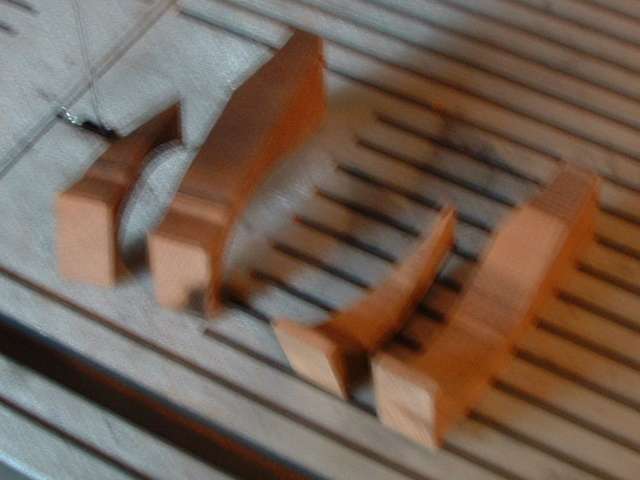
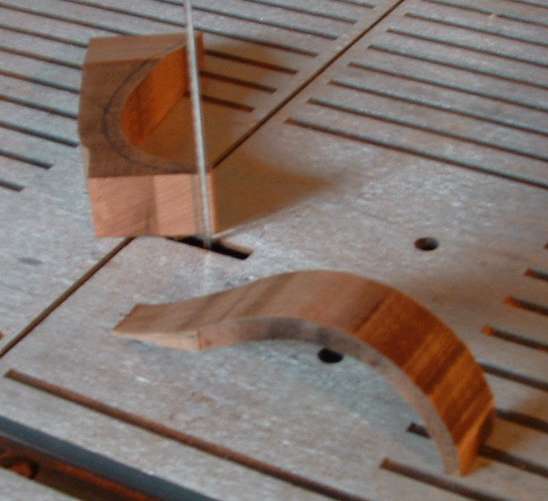
Take the 1" wide pieces and cut a 1/8" thick piece following the wing's curve. Set aside these 1/8" thick pieces for the wing tops.
Line up the inner pieces on the side view blueprint to determine the cuts to form the headlight nacelles. Cut them 3/4" square and set aside.
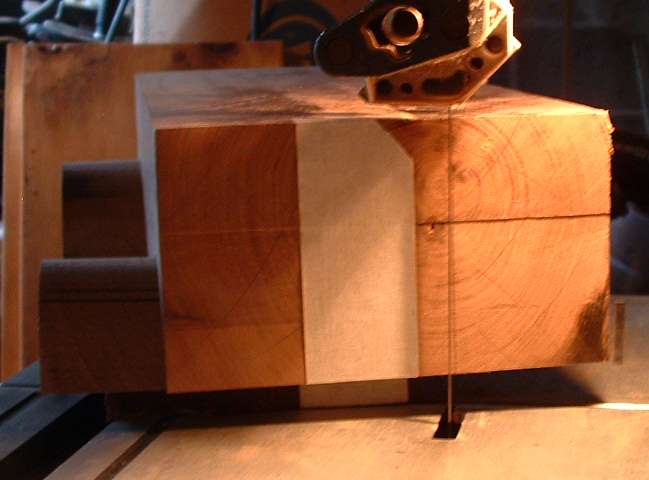
Back to the car body, cut the front of the cowl where the grill will go on the table saw at 60 degrees, use the remains of the side cutoffs and the chassis to keep the body steady and square to the saw.
Start shaping the body by running the router with a 1/2" quarter round bit along the top corners of the bonnet from cowl to cockpit.
Next you need to make a straight bevel cut on each side of the bonnet from the cowl to the cockpit. Set the table saw at 45 degrees and set the protractor to about 15 degrees and clamp a right angle brace to an extension to the protractor. With the body piece inverted and the remains of the side cutoff inserted to keep the body square to the right angle brace, adjust until you will get a straight cut from the corner of the cowl to the corner of the cockpit, cutting so the blade just touches the routered corners at the cowl and the cockpit. It will take a thicker cut in the middle of the bonnet as the lower part of the body starts to taper in front of the cockpit.
Find the centre line of the grill opening in front and draw in the grill opening 1 1/2" across with a 3/4" radius arch on top.
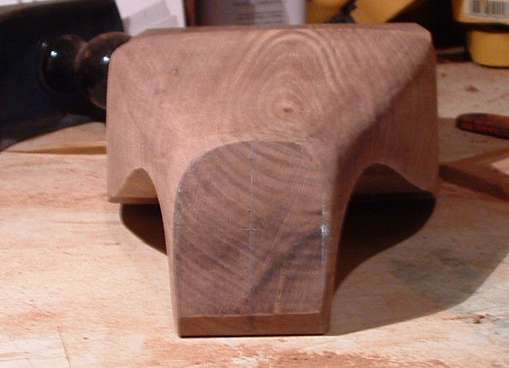
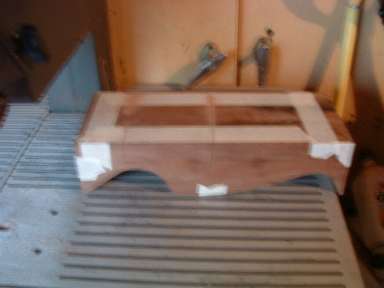
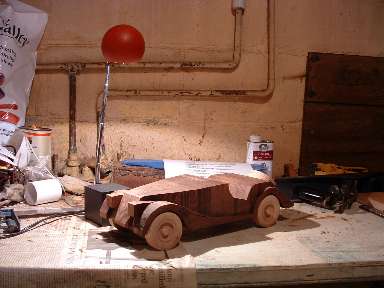
Lets see what we have, take your rolling chassis and stack on the body and the front wing tops and use a little tape to hold the headlight nacelles and you have a square Morgan. The pictures were taken before the cuts described in the previous step.
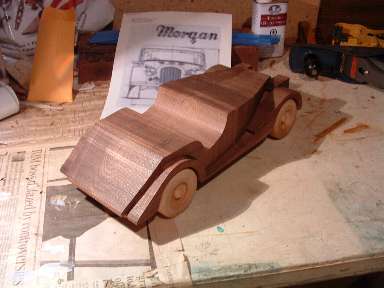
Use a plane and a rasp to shape the bonnet edges and cowl. Be careful to not take away any wood at the body chassis edge. This job is where you get artistic, the sides are vertical at the front of the cockpit and twist to about 15 degrees from vertical at the cowl. The top of the bonnet has a very shallow slope to the sides where the curve begins.
Sand the body.